
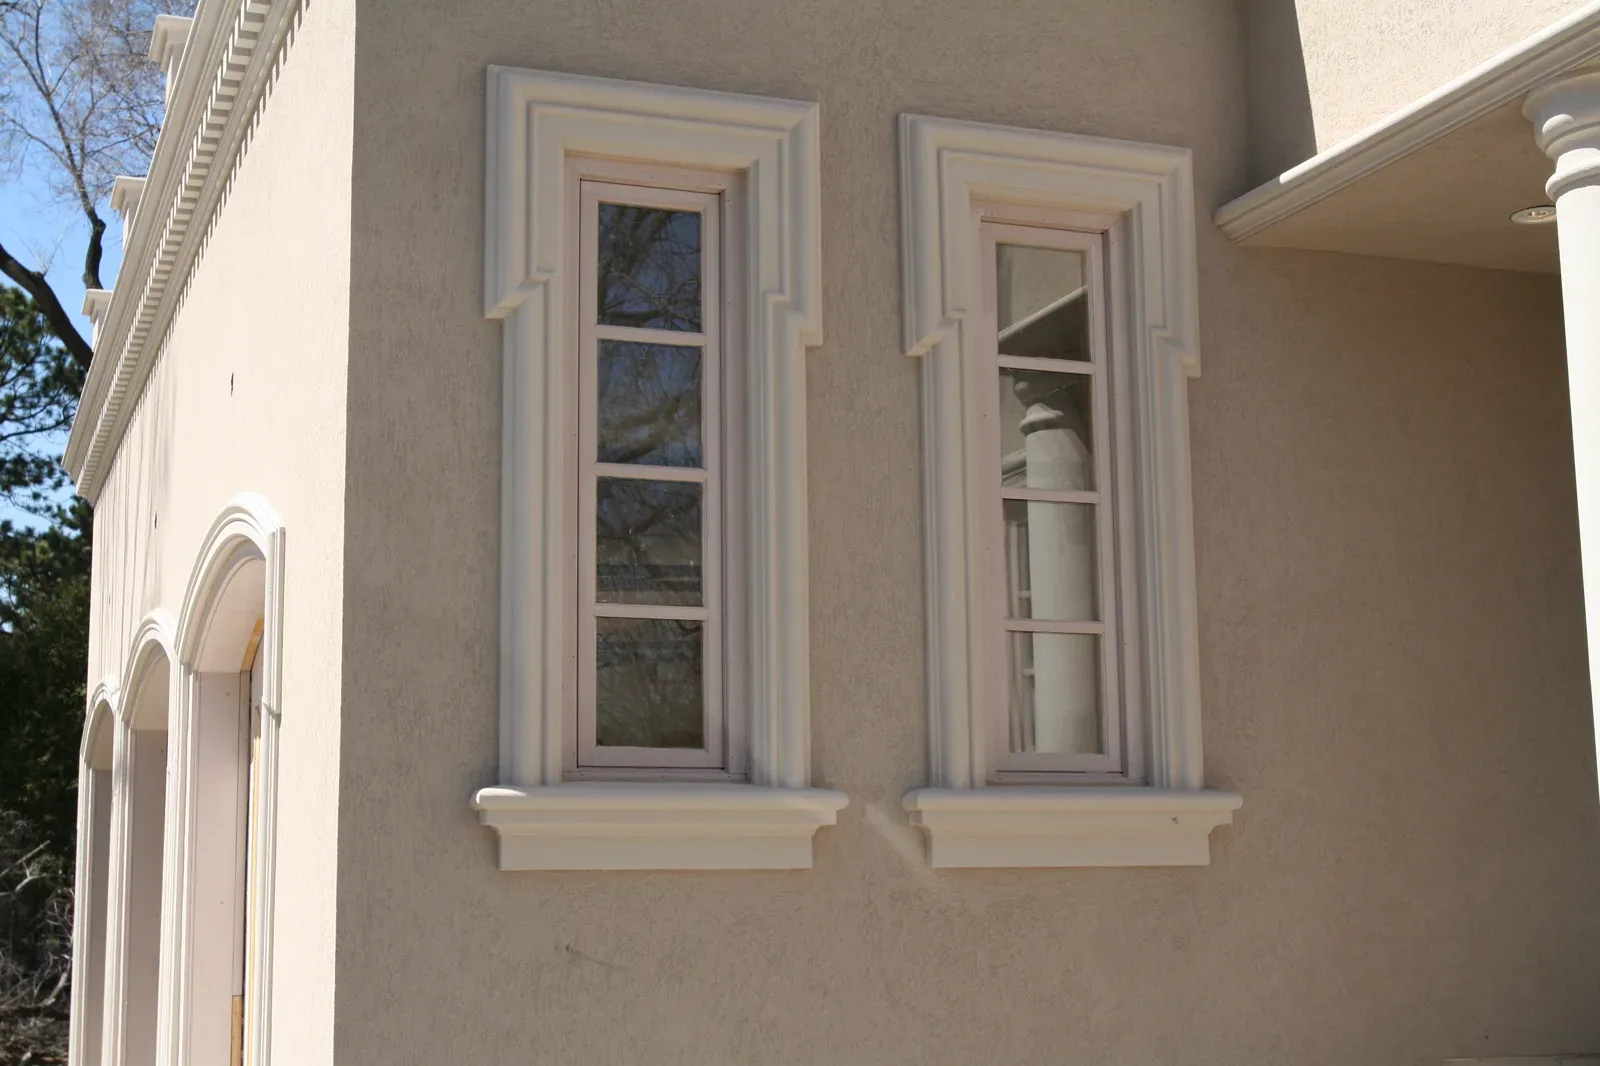
Promould® / Installation
Prepare, fit, attach and finish the profile.
Follow the published exterior sequence for the condition on site. Keep the installation PDF open for substrate, reinforcement, joint and finish details.
Before work begins
Prepare the substrate. Follow the sequence.
Execution must conform to the EIFS manufacturer’s environmental, application, material and preparation requirements and to Decorawall’s published exhibits and specifications. Do not use frozen material or apply to a frozen substrate. Refer to the current installation PDF for temperature limits, clearances, reinforcement and joint details.
Download installation guide 2026- 01
Prepare
The surface must be clean and dry, free of loose or foreign material. Dry-fit and cut the moulding on site to suit the architectural drawings and existing structure.
- 02
Fit
Apply the system manufacturer’s adhesive to the back of the moulding in a vertical pattern using a 3/8-inch notched trowel. If skinning occurs, remove and replace the adhesive.
- 03
Attach
Press the moulding into position and use temporary mechanical fasteners as required by the selected manufacturer’s system while the adhesive cures.
- 04
Clean
Remove excess adhesive along the moulding before it cures.
- 05
Reinforce
Follow the applicable system exhibit for the substrate. Where specified, spread cementitious material over the moulding and substrate, embed the fiberglass mesh and smooth the surface.
- 06
Finish joints
Follow the published caulking or base-coat-and-fiberglass-mesh detail for moulding-to-moulding joints. Maintain the joint dimensions stated in the current guide.
- 07
Finish
Allow the materials to cure as required, then sand joints and surfaces smooth in preparation for the selected finish.
Installation video
See the sequence on site.
Watch the full installation, from preparation to finishing.
Project support